

- Introduction
- Install multipass
- Launch the multipass
- Launch new instance
- Deletion of the instances
- Custom instance
- Conclusion
Introduction
Ubuntu VM runs on Windows/Mac/Linux. Multipass can launch and run virtual machines and configure them with cloud-init like a public cloud. Prototype your cloud launches locally for free. It acts as a similar to Oracle Virtual Box or Docker engine
Install multipass
Im testing on a macOS Ventura 13.1, the following procedure helps us to install and test the multipass Ubuntu VM.
Installation steps on a Mac
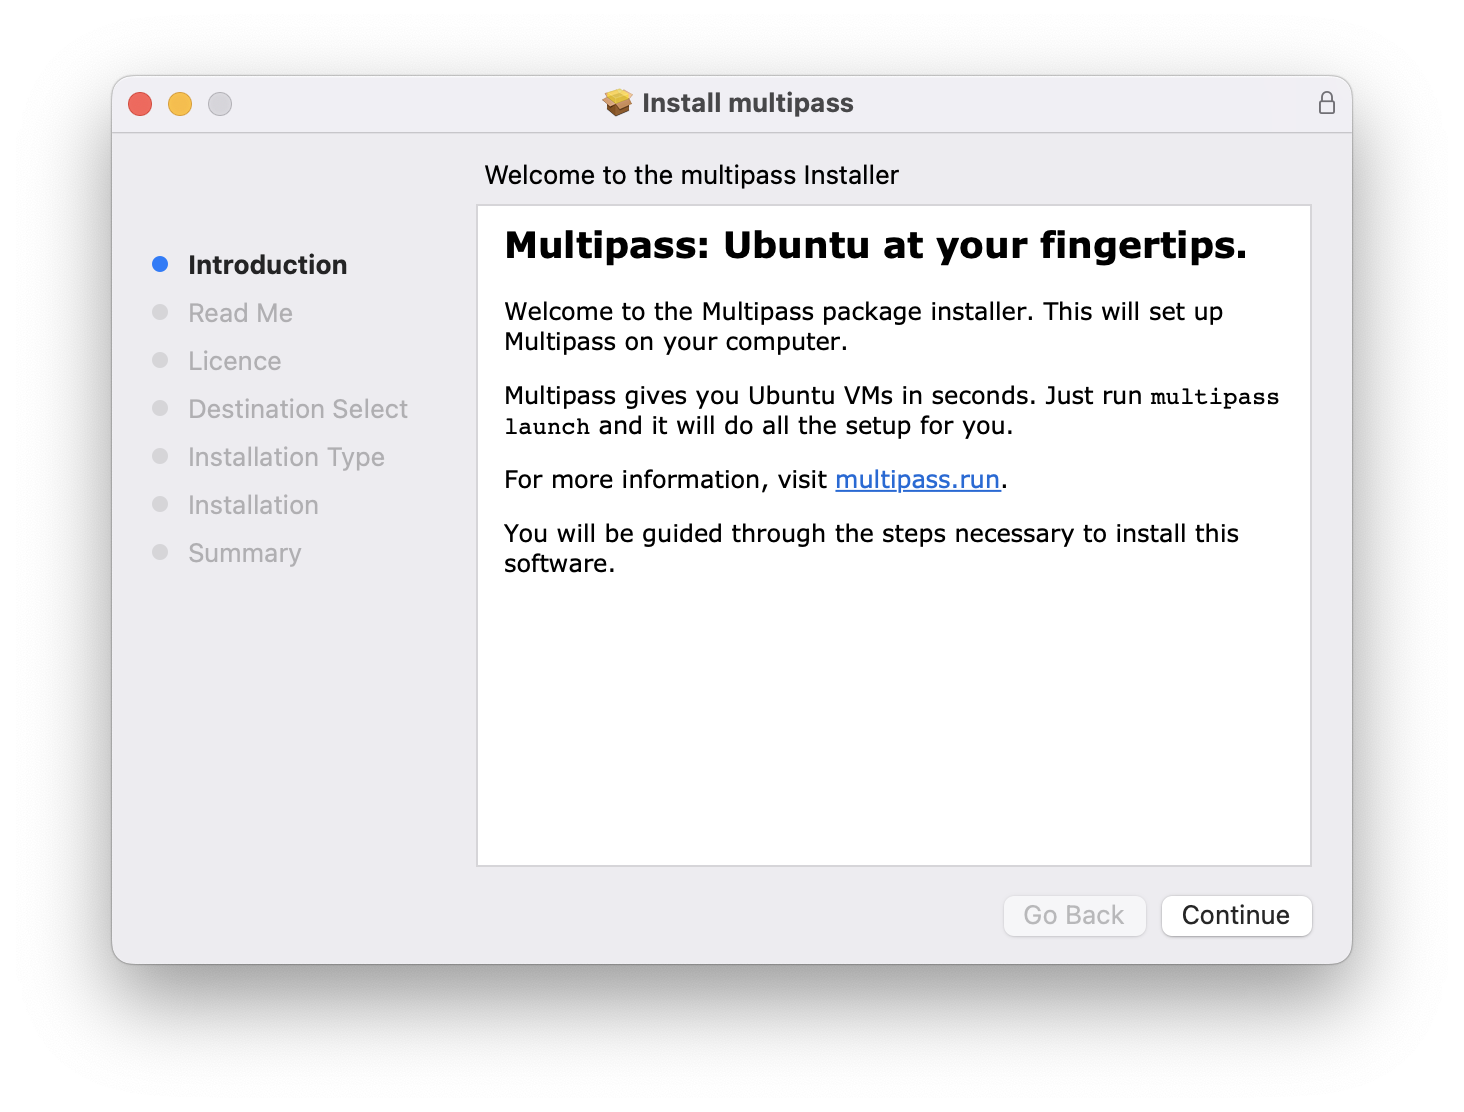
Method1 – installer
Download the multipass package from the Ubuntu official site, need to run the application with admin privileges
Download URL for macOS – https://multipass.run/download/macos
Once download open the installer and install the package


Method2 – brew
Using brew we can install the multipass
$ brew install --cask multipass
To Uninstall
$ brew uninstall multipass
# or
$ brew uninstall --zap multipass # to destroy all data
Install on Linux
To install Multipass on a Linux system, run the following command:
$ sudo snap install multipass
Launch the multipass
Now we are ready to launch the multipass, to launch the new instance execute the below command
Clicking this button open shell, it launches a new virtual machine (instance), named primary, with 1GB of RAM, 5GB of disk, and 1 CPU; installs the most recent Ubuntu LTS release. We can see the below details printed on the shell.
Welcome to Ubuntu 22.04.1 LTS (GNU/Linux 5.15.0-60-generic x86_64)

 * Documentation:  https://help.ubuntu.com
 * Management:     https://landscape.canonical.com
 * Support:        https://ubuntu.com/advantage

  System information as of Fri Feb 17 18:23:03 IST 2023

  System load:             0.0
  Usage of /:              34.3% of 4.67GB
  Memory usage:            22%
  Swap usage:              0%
  Processes:               110
  Users logged in:         1
  IPv4 address for enp0s2: 192.168.64.2
  IPv6 address for enp0s2: fdaf:d068:ef6e:eb09:c83b:ccff:fe0e:1069


 * Introducing Expanded Security Maintenance for Applications.
   Receive updates to over 25,000 software packages with your
   Ubuntu Pro subscription. Free for personal use.

     https://ubuntu.com/pro

Expanded Security Maintenance for Applications is not enabled.

3 updates can be applied immediately.
2 of these updates are standard security updates.
To see these additional updates run: apt list --upgradable

Enable ESM Apps to receive additional future security updates.
See https://ubuntu.com/esm or run: sudo pro status
Last login: Fri Feb 17 17:32:19 2023 from 192.168.64.1
ubuntu@primary:~$
Launch new instance
Multipass has a great feature to help us get started creating customised instances. Let’s open a terminal and run the command multipass find. This shows us a list of all of the images we can launch through Multipass currently.
Multipass helps us to create instances with customisation, open the terminal and run the multipass find command to display the publicly available images, we can also launch our own images.
find the image
$ multipass find
Image                       Aliases           Version          Description
snapcraft:core18            18.04             20201111         Snapcraft builder for Core 18
snapcraft:core20            20.04             20210921         Snapcraft builder for Core 20
snapcraft:core22            22.04             20220426         Snapcraft builder for Core 22
18.04                       bionic            20230210         Ubuntu 18.04 LTS
20.04                       focal             20230209         Ubuntu 20.04 LTS
22.04                       jammy,lts         20230210         Ubuntu 22.04 LTS
22.10                       kinetic           20230215         Ubuntu 22.10
anbox-cloud-appliance                         latest           Anbox Cloud Appliance
charm-dev                                     latest           A development and testing environment for charmers
docker                                        0.4              A Docker environment with Portainer and related tools
jellyfin                                      latest           Jellyfin is a Free Software Media System that puts you in control of managing and streaming your media.
minikube                                      latest           minikube is local Kubernetes
$
Let’s launch an instance running Ubuntu 18.04 by executing the command multipass launch 18.04
Now we able to see an instance running which has been named randomly by Multipass, in this case it named as present-alpaca.
Let’s launch an instance running Ubuntu 18.04 by executing the command multipass launch 18.04
Now we able to see an instance running which has been named randomly by Multipass, in this case it named as present-alpaca.
launch instance
$ multipass launch 18.04
Launched: present-alpaca
verify
We can check some few info about our new instance by running the below command:
$ multipass exec  present-alpaca -- hostname
present-alpaca
$
$ multipass exec  present-alpaca -- lsb_release -a
No LSB modules are available.
Distributor ID:	Ubuntu
Description:	Ubuntu 18.04.6 LTS
Release:	18.04
Codename:	bionic
$
Deletion of the instances
If we decide to destroy the instances, execute the below command. Make sure give the correct name for deletion of instances.
$ multipass list
Name                    State             IPv4             Image
primary                 Running           192.168.64.2     Ubuntu 22.04 LTS
present-alpaca          Running           192.168.64.3     Ubuntu 18.04 LTS
$ multipass delete present-alpaca
$ multipass list
Name                    State             IPv4             Image
primary                 Running           192.168.64.2     Ubuntu 22.04 LTS
present-alpaca          Deleted           --               Not Available
Custom instance
Let’s consider scenario we need to launch instances with RAM and CPU, we need to execute the below command.
$ multipass launch 18.04 --name ccInstance --memory 2G --disk 8G --cpus 2
Launched: ccInstance
Just cross check whether the requirement are correct as per our specifications.
$ multipass info ccInstance
Name:           ccInstance
State:          Running
IPv4:           192.168.64.4
Release:        Ubuntu 18.04.6 LTS
Image hash:     990376cdb0d0 (Ubuntu 18.04 LTS)
CPU(s):         2
Load:           0.34 0.14 0.05
Disk usage:     1.2GiB out of 7.6GiB
Memory usage:   86.2MiB out of 1.9GiB
Mounts:         --
We create and deleted few instances, lets check that
$ multipass list
Name                    State             IPv4             Image
primary                 Running           192.168.64.2     Ubuntu 22.04 LTS
ccInstance              Running           192.168.64.4     Ubuntu 18.04 LTS
present-alpaca          Deleted           --               Not Available
Conclusion
Hope the you got some hands onn about multipass, in the next post we can more about multipass, please like and share the post if you like it.
multipass official site – https://multipass.run/
Also read
Troubleshooting commands in Linux – https://computercarriage.wordpress.com/2023/02/16/troubleshooting-commands-in-linux/
Docker Container Platform – Part1 – https://computercarriage.wordpress.com/2020/09/03/docker-container-platform/

Leave a comment